When it comes to home decor, Singaporeans are always on the lookout for fresh trends that can add a touch of elegance and sophistication to their living spaces.
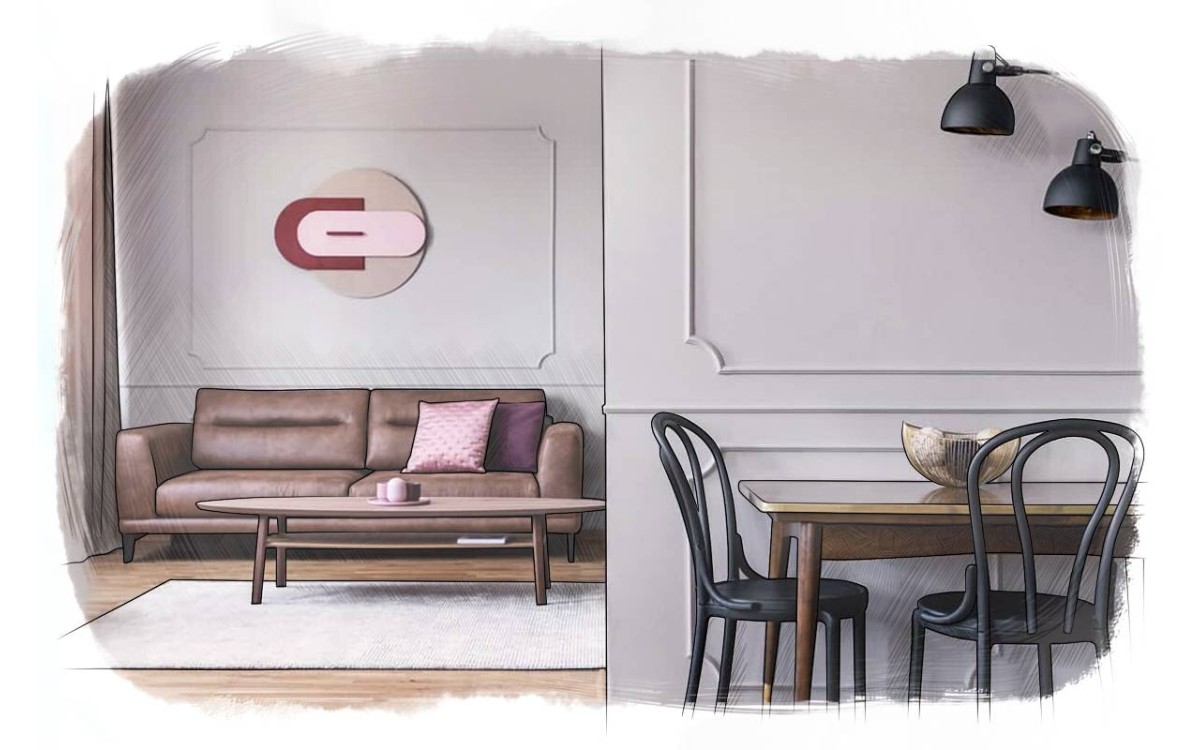
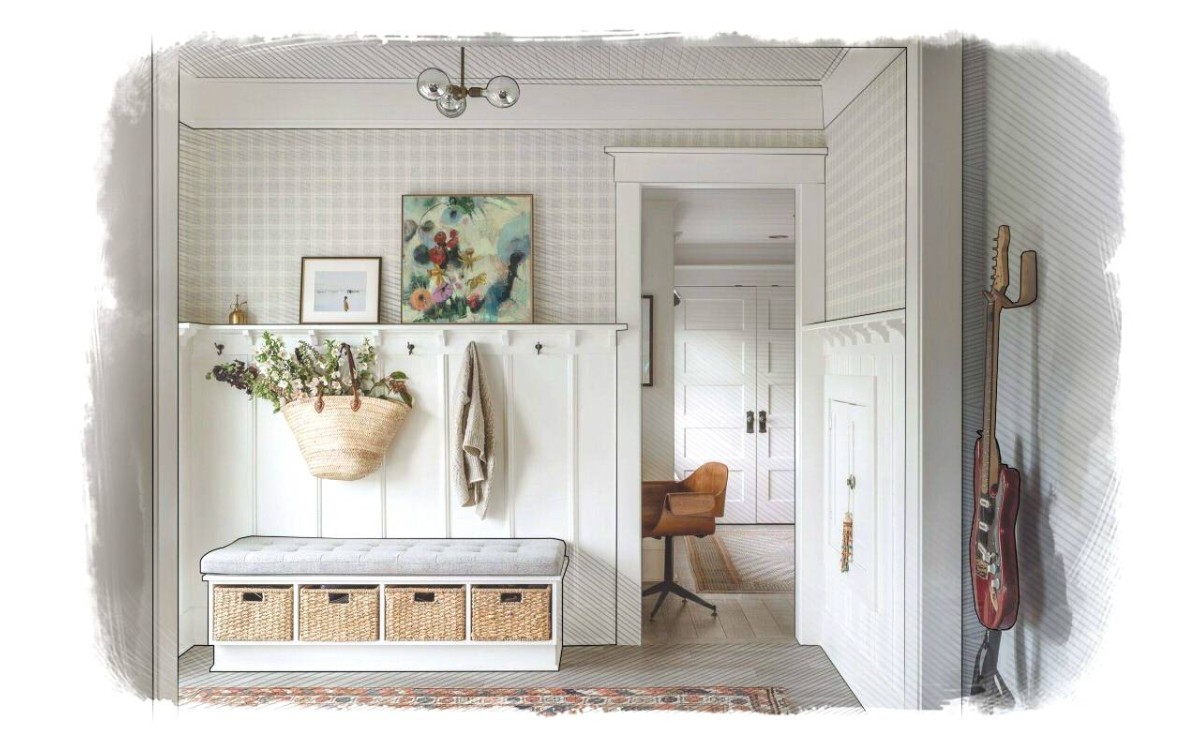
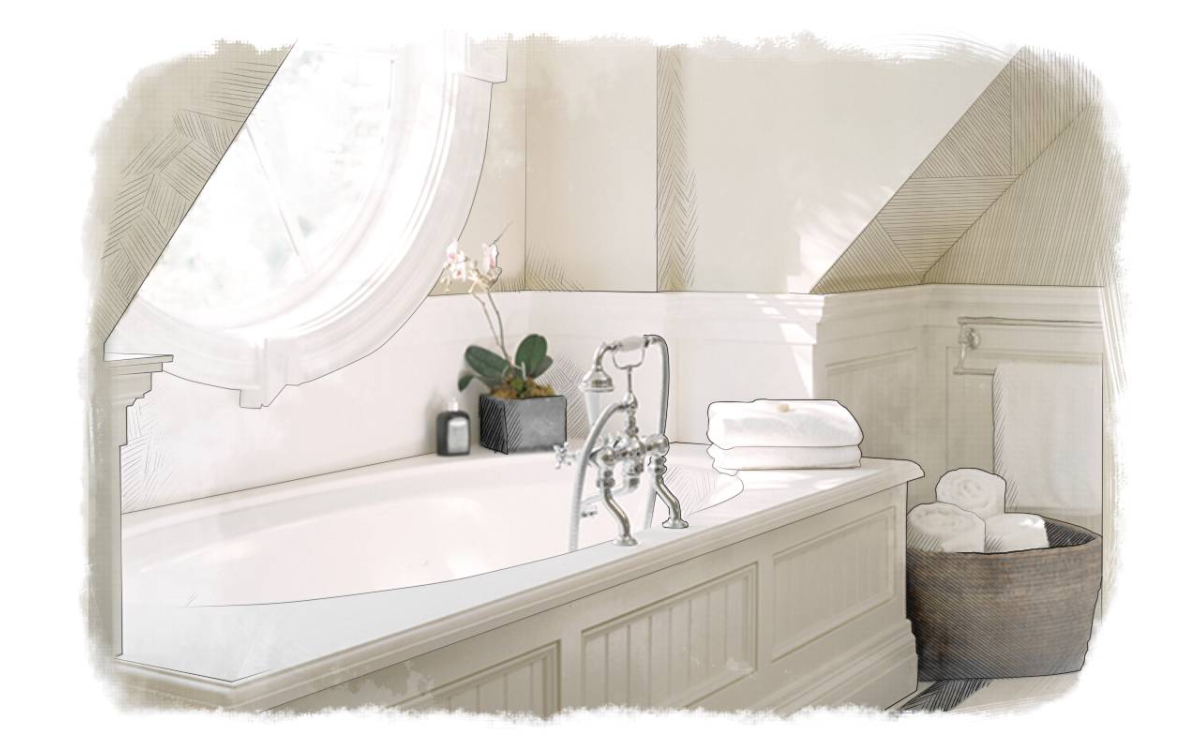
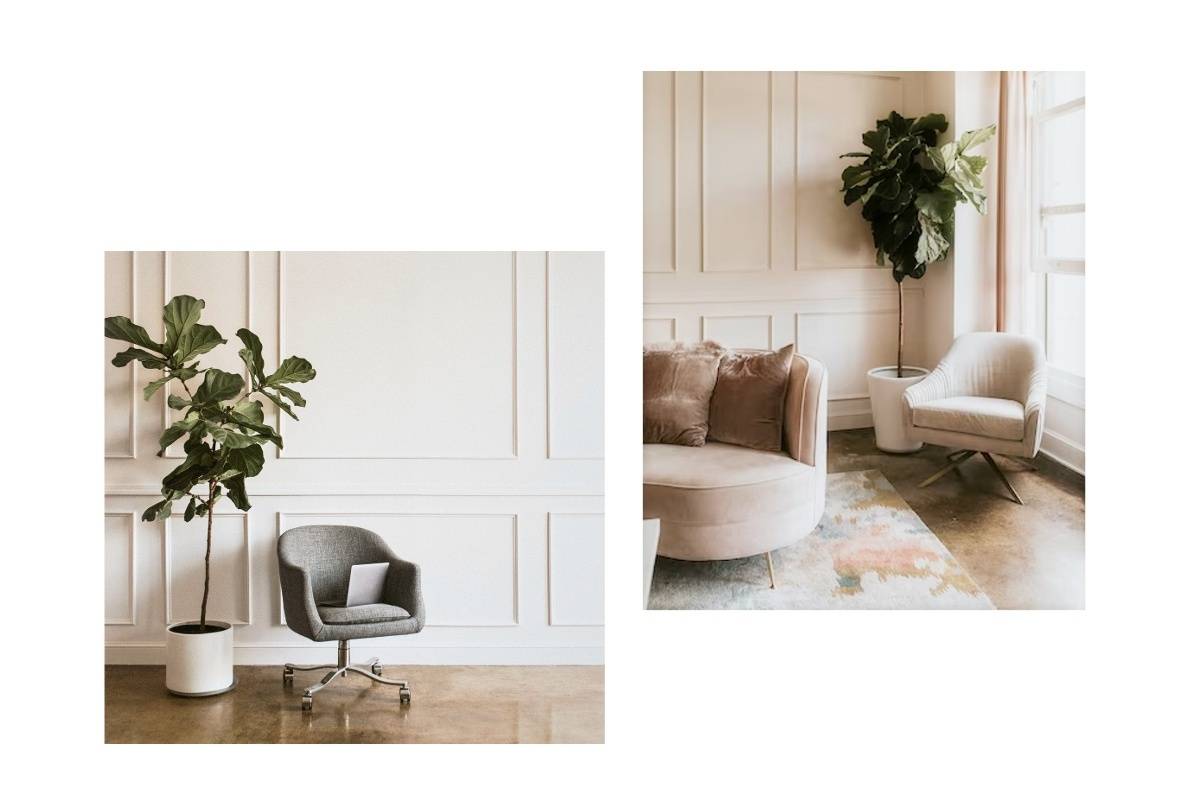
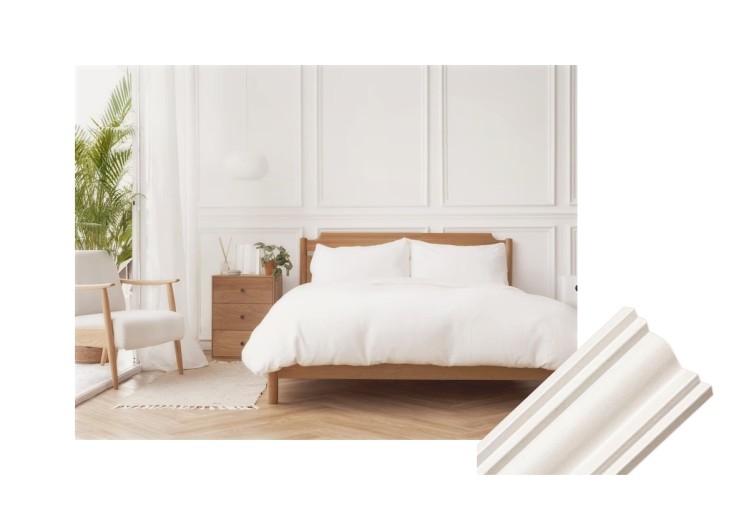
The newest trend to sweep the interior design scene is decorative wall panels that create a stunning visual effect and effortlessly elevate any room's overall look and feel, wainscoting. Success to steal everyone's attention, let's get to know everything about wainscoting. From the type of wainscoting, to tips for installing wainscoting. Keep reading!
Type of Wainscoting
Before you want to install wainscoting to your home, you must know what type of wainscoting that you will bring to your home.
As time went by, the wainscoting wall was developed to several types. Now, you can choose any type to decorate your home. Here are types of modern wainscoting that you must know:
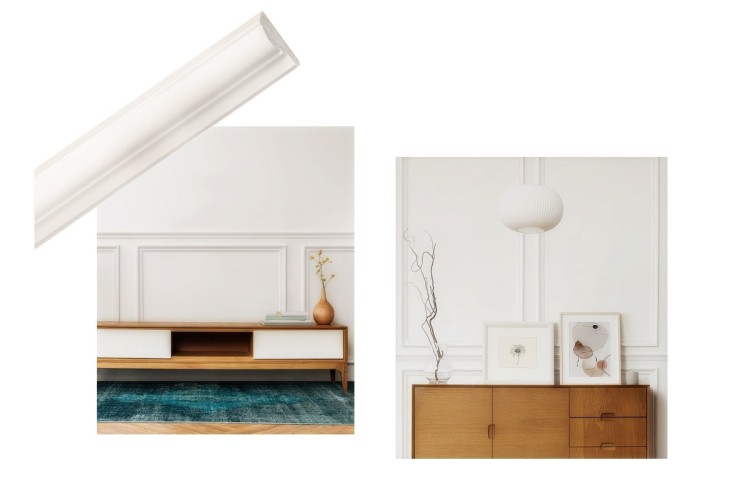
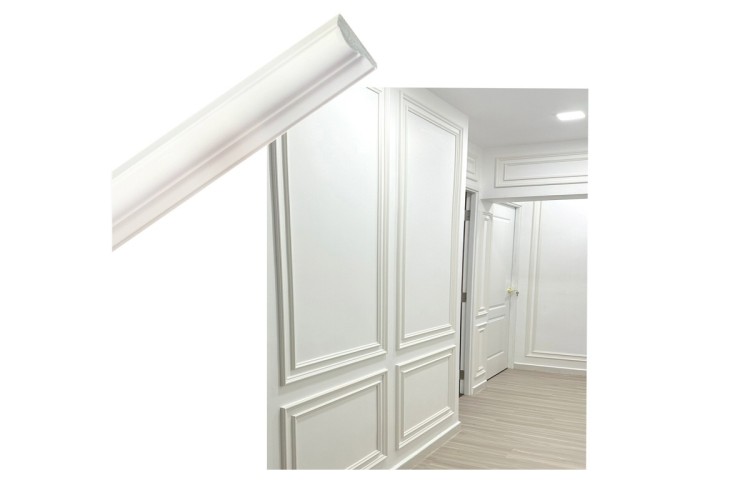
Raised Panel
This style of wainscoting is characterized by its prominent panels that are raised above the wall's surface, creating a sense of depth and dimension.
This is the only panel that offers the beveled edges of each individual panel.
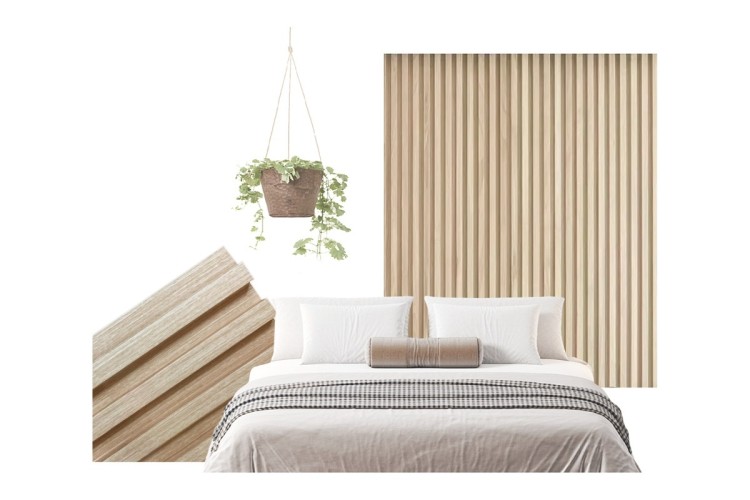
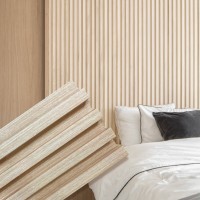
Wall Panel
It is a type of wainscoting that is easy to DIY. Why? Because of the pre-cut construction of it, maneuverability and the lightweight as well.
It also comes in a diverse range of styles, from classic to modern, and can be customized to suit any interior decor theme.
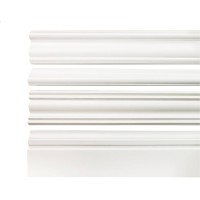
Beade Panel
It's typically a long sheet with vertical grooves. Usually, it can be used to complete a half wall decoration.
It's a popular choice for achieving a classic and cozy cottage or farmhouse aesthetic, but it can also be incorporated into various design schemes to add a subtle yet captivating decorative element to walls.
All these types of wainscoting are easy to use and definitely can transform your room. Choose the right references for DIY wainscoting ideas to maximize your interior design.
Tips for Installing Wainscoting

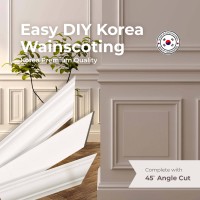
Installing wainscoting can be a rewarding DIY project if you use the right tools. Here's a general tools that must you prepare before installing:
- Measuring tape
- Miter Saw
- Caulk
- Cutter
- Paint (optional)
Here are the steps:
- First step is to make a plan. You need to know the place that you choose to install. How long you will use it and others. You must need the right plan for it, then choose the type of wainscoting that you want.
- After it, clean the wall and make sure there is free-dust and flat wall.
- Then, before you begin installing wainscoting on your walls, it is best to let the panels acclimate in the room for at least 48 to 72 hours. It can be useful if you live in a humid country like Singapore.
- Time to measure it! Get the measured data, then cut the panel. And try to fit each panel on the wall.
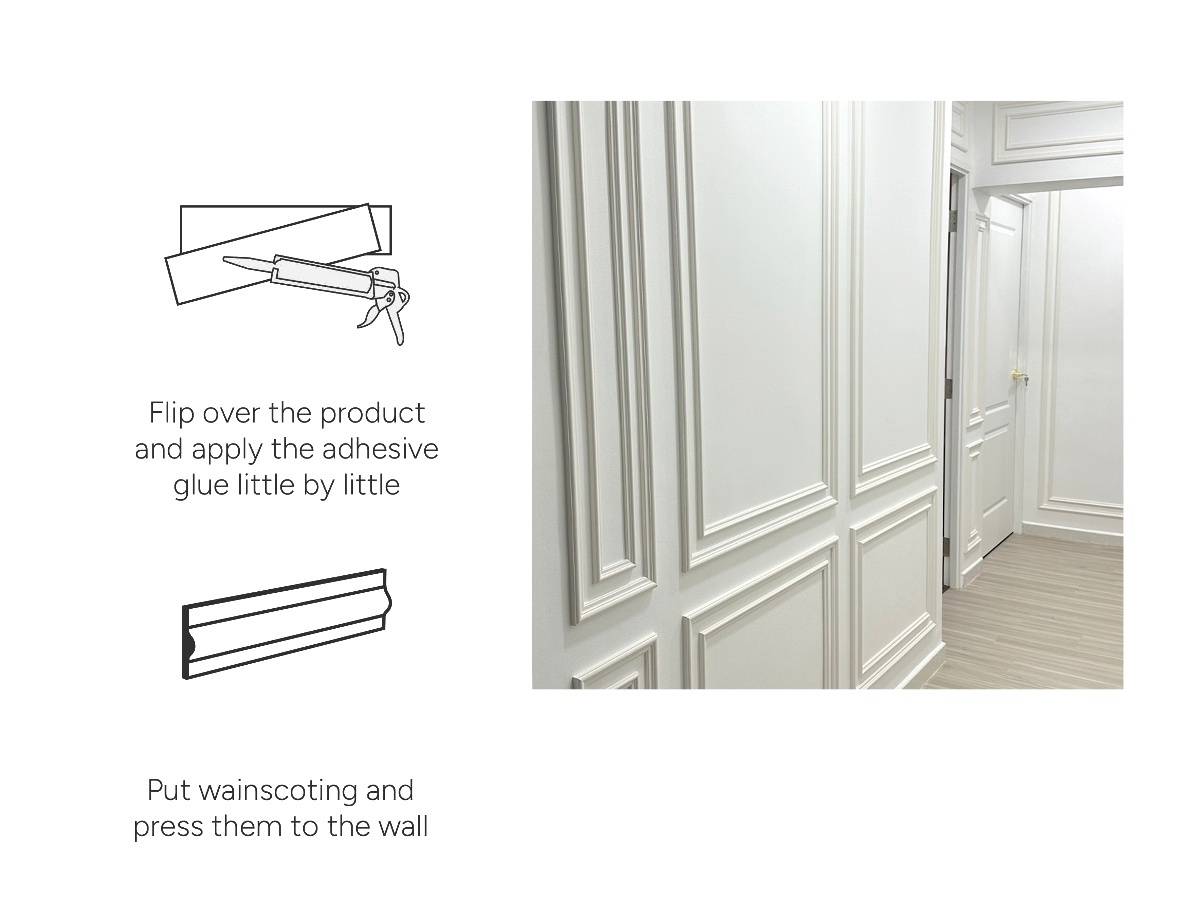
- Next, install the wainscoting to the wall using construction adhesive and nails or screws. Make sure that each panel fits.
- Last, if you want to get more creative, you can paint it for finishing.
There are simple tips for installing wainscoting. Let's find your favorite wainscoting on the Dekorea website!